
I am now on dangerous ground, as the saying warns ‘Fool’s rush in where Angels fear to tread’, so this Angel is treading very very carefully! I fully respect that everyone has their own special method to produce their perfect craft beer at home and I am certainly not giving any advise but will only explain my husband’s beer making process and show you the very basic kit which he uses, should anyone be interested.
My husband is a home brewer, but being a farmer first and foremost with the ‘make, mend and do’ attitude firmly ingrained into his psyche, whilst he has often looked longingly at the Braumeister style apparatus, he remains stoically loyal to the very basic beer brewing kit he already has. You don’t need any fancy brew kit to get going with the beer making process. The main components of his home brew hardware did not start out life as beer brewing equipment at all, but has been reinvented for purpose and he would be loathe to change it – it works well, therefore he reckons if it’s not broken, don’t fix it!
His beer brewing equipment is –
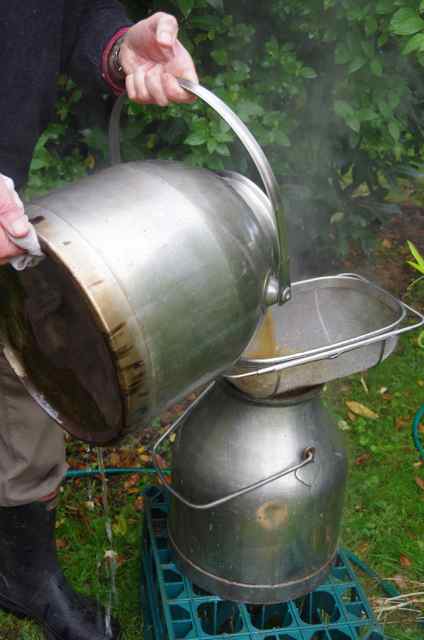
- 2 stainless steel redundant ex milk buckets, (one for the brewing and one for the fermentation vessel)
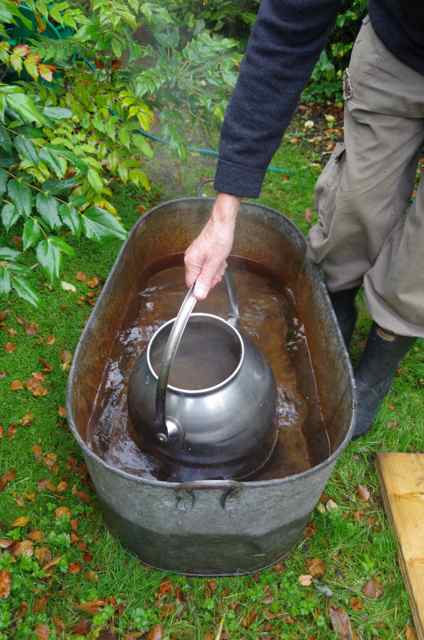
- An old tin bath, which is topped off by an even more ancient gas stove that lives outside (under cover of course) A practical plus for this stove is that the steam during the hour long rolling boil, all happens outdoors and not in the kitchen. Another plus for his beer brewing equipment is the simplicity of cleaning it and how little equipment there actually is to clean.
- A glass hydrometer was a survivor from years ago, during our brief and very variable sortie into wine making
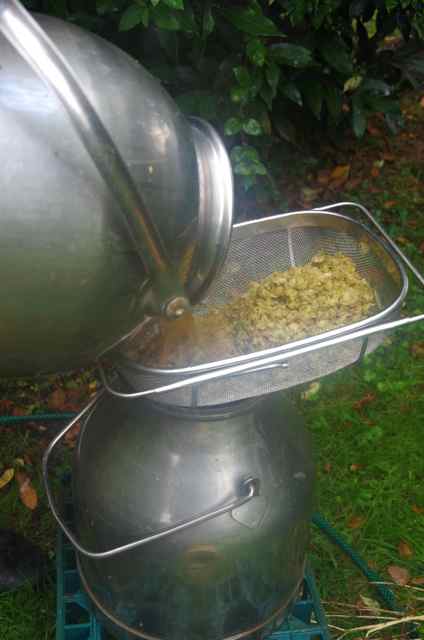
- A stainless steel strainer we already had. This strainer has now been requisitioned by the brewing department.

New kit purchased was:
- a thermometer
- tubing for syphoning
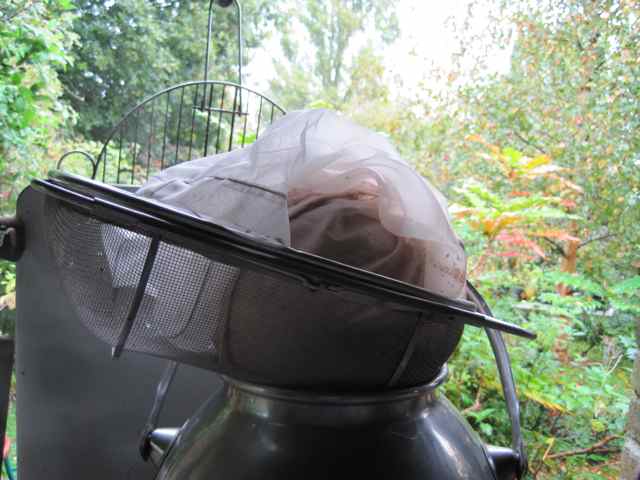
- nylon voile for the bags. Bags were actually made from fine mesh nylon curtaining which is perfect. They are best sewn up to approximately to fit the container being used. You just need to make sure the bag is kept off the bottom of your vessel whilst the heat is on, an upturned colander or similar will suffice.
He brews 10 litres at a time rather than what I understand to be the more normal 20 litres. The theory behind these 10 litre brews is that the buckets are easier to lift and recipes can be tweaked or a completely different home beer recipe tried without any concern that you may have lot of beer you do not like. This has only been the case once so far, he over-hopped a brew that made American IPA’s look insipid! I thought my hair would curl, but it did make an excellent shandy.
When he first came across about the Australian ‘brew in a bag’ method he thought it sounded rather corny, but after trying it, this method is no gimmick. The basic rules for all brewing are simple – have scrupulously clean equipment and bottles, good quality ingredients, accurate temperatures, accurate timings and in this case careful removal of the bag of malt so it can drain naturally. Resisting the temptation to give it a squeeze.
I am sure everyone has their own very personal preferences to technique, hence my caution writing about this but if the proof of the pudding is in the eating (or drinking in this case!) then this method has a full 10/10 and big thumbs up from me.
I am shortly to have a tentative foray in to the world of brewing but using hops and no malt! But that will be for another time.
Quick guide to the easy home beer making process ‘BREW IN A BAG’ method with one of my husbands recipes
NB -To end up with approx 9 litres to bottle you need to start with 13 litres of water
Ingredients for his American Light Bitter
1.5kg pale malted barley
75gm crystal malt
130gm Polenta
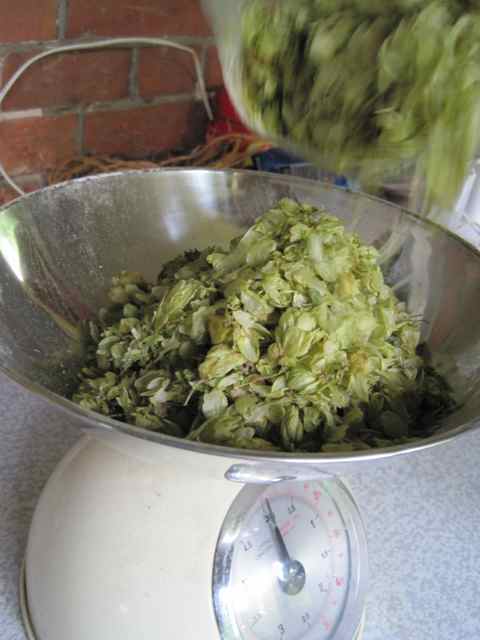
2ozs Goldings hops
1oz Cascade hops
Halfera packet of S-05 yeast
Method
*Bring 13 litres water to 67C
*Put malts and polenta in the voile bag, gently lower and prod carefully down to wet grains (you do not want to introduce any air at this point) Tie top of bag securely to top of the brew vessel. Steep for 70 mins at 67C. You can turn off heat if needs be to keep temperature level.
*Remove bag of malt and allow to drain into the vessel. Do not squeeze, it is very tempting! but DON’T DO IT!
*Bring wort to a rolling boil for 1 hour in total, adding 1oz golding hops immediately boiling point is reached.
After 30 mins add 1oz Goldings hops then for the last 10 mins of the boil add the Cascade hops.
* Strain hops from wort and immediately cool as quickly as possible to 25C. The old tin bath is perfect here. To help wort oxygenate at this stage the wort can be strained to and fro between both stainless steel vessels a few times. This also helps speed the cooling.
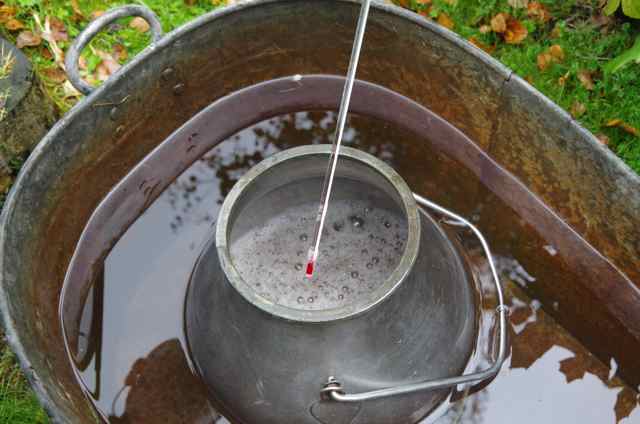
*Once at 25C stand vessel in warm environment to ferment and add yeast. My husband uses the open top method with this vessel, covering it with a nylon cover then a clean cotton cloth.
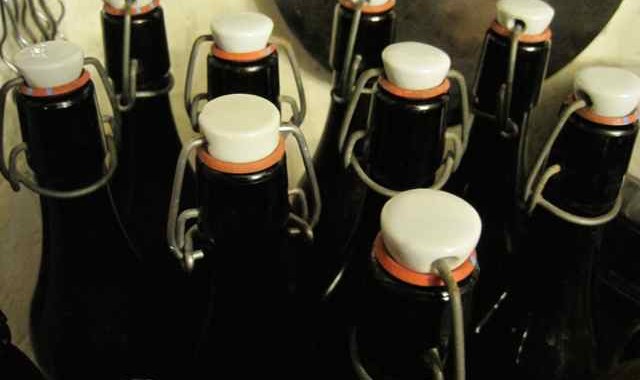
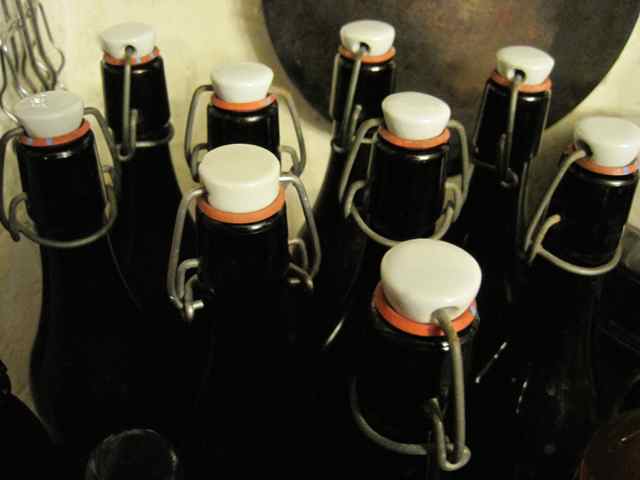
Bottled when hydrometer shows it is ready or after about 10 days.
If you are interested to see this home beer making process of ‘brewing in a bag’ this lady has it down to a fine art.